Categories

Showing posts with label Craft. Show all posts

Thursday, March 21, 2013

CRAFT: Smashbook

So since I haven't been feeling very crafty lately, I thought I'd share an ongoing craft with all of you. My Smashbook.


A Smashbook is a scrapbook journal with different themed pages that the purpose is to take things and just "smash" them into the book.

There are at least 20 different styles to choose from, and I plan on collecting all of them eventually...
When I first discovered Smash, there were only about 5 styles to choose from. I ended up picking the one called "pretty."
I'm not much of a fan of the color pink, but the pages inside are what interested me. I will eventually cover the spine with a different color binding. But for now it's the inside full of cupcakes and flowers and cute things that's what's so exciting!

Each book comes with a combination pen and glue stick (which is surprisingly sticky for a glue stick). And Smash also sells cool accessories you can use with the book like folder pockets, stamps, washi tape, and little post it flags. They also sell these really cool inspiration notepads you can fill out that include questions like top ten ___, favorite songs, favorite people, and good places to eat.

I wanted to share with you some of the pages I've put together. I did not include pictures of some of the cooler background pictures that come in the book though, such as a page full of dice, silverware, birds in a very blue sky, bookshelves, and various other beautiful pictures. But these books are beautiful, awesome, and so unique!

Anyway, here are a few of my finished (and some almost finished) pages:

The inside front cover.

This was on the packaging. I had to add German!

Adventure waits...

***
First page. Cupcakes and pointe shoes!

 ***
Next two pages.

Finished. Introduction page.

Things to gather and put in the book.

Finished. The "I am..." page.


 ***
Finished. A trip to the Art Museum in Philly.


***
The "vintage" page.

***
"Some kinds of wonderful"

"Some kinds of crazy"

***
Things to Do.

I need to check off the "Move Out" bullet.

***
Mostly Finished. "Big Ideas?"
Crafty things to do... eventually.

***
"Say It!"


***
My "Best Buy" page. I'll probably add some goodbye notes. 


***
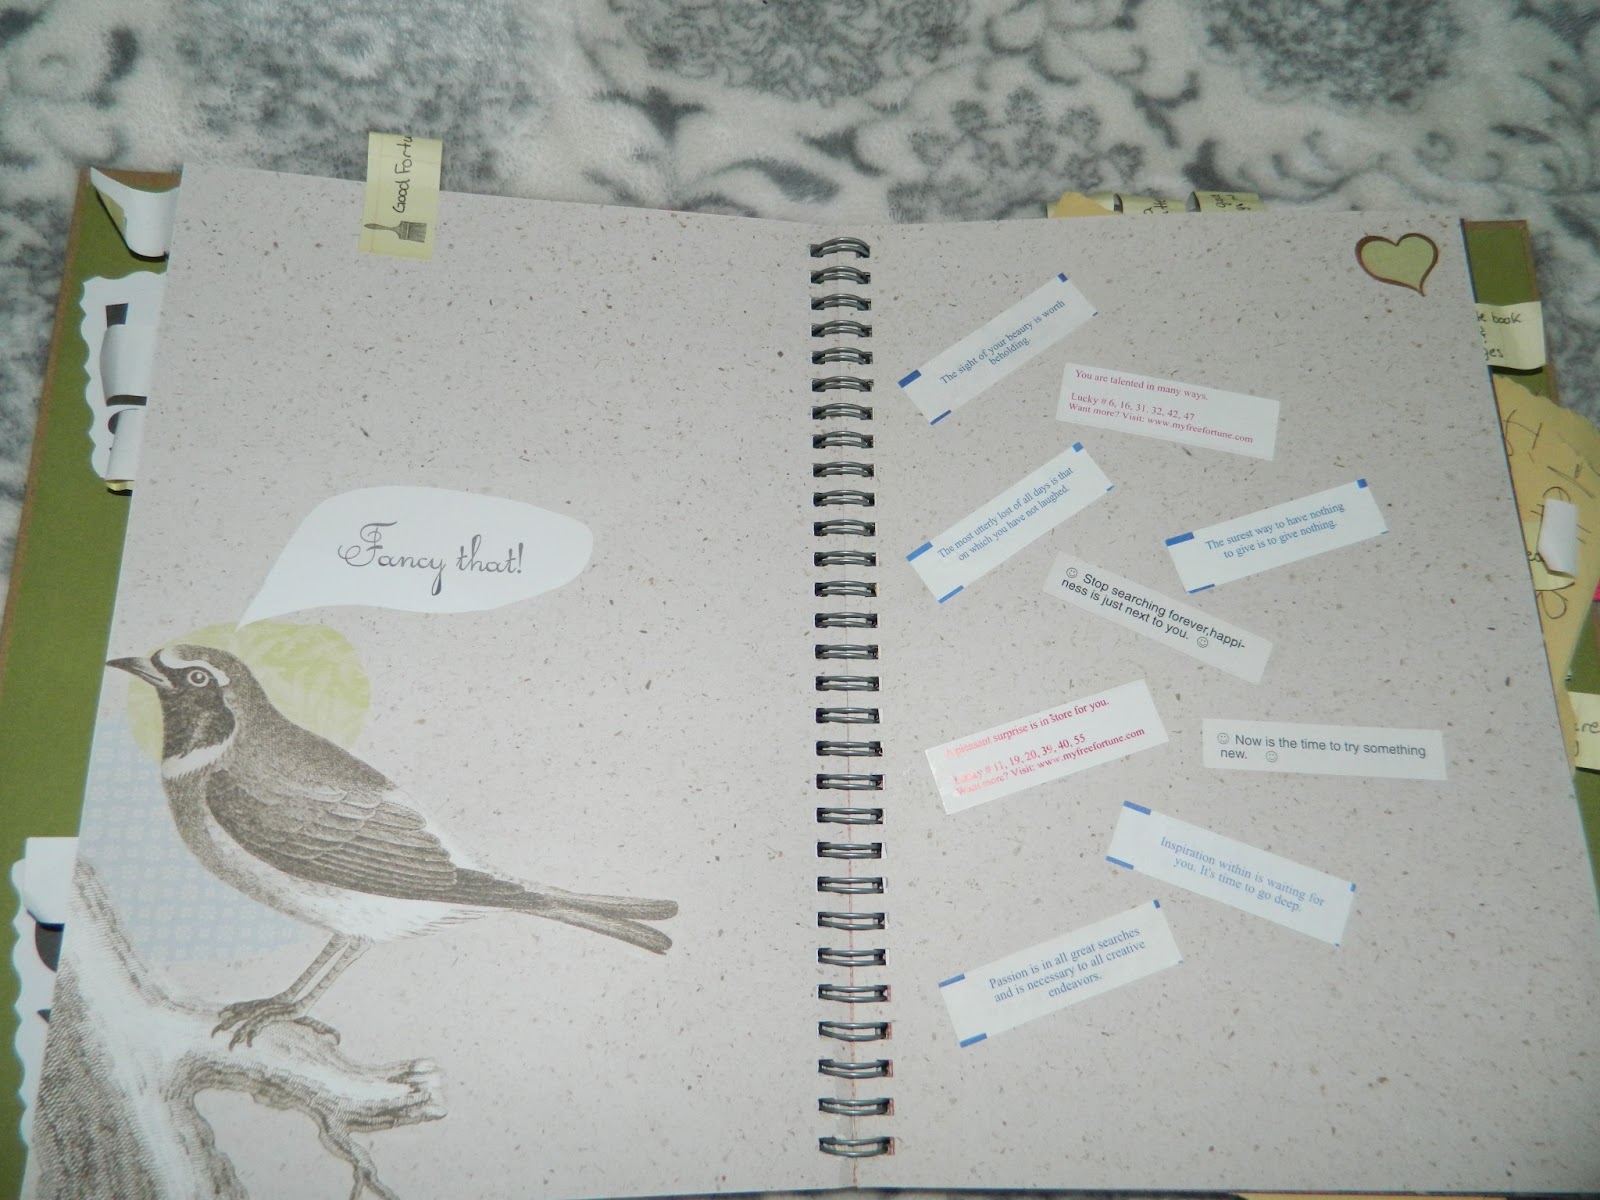
"Good Fortunes"

*** 
Mostly Finished. "The Good Things in Life"

*** 
So cute I wanna put it in my pocket!

*** 
"Sweetie" Foodstuffs


*** 
"Adventure Log"

The hair is from when I dyed my hair purple I think. 
I wanted to log the moment I did crazy shit with my head.
But I haven't logged the date yet.

***

***
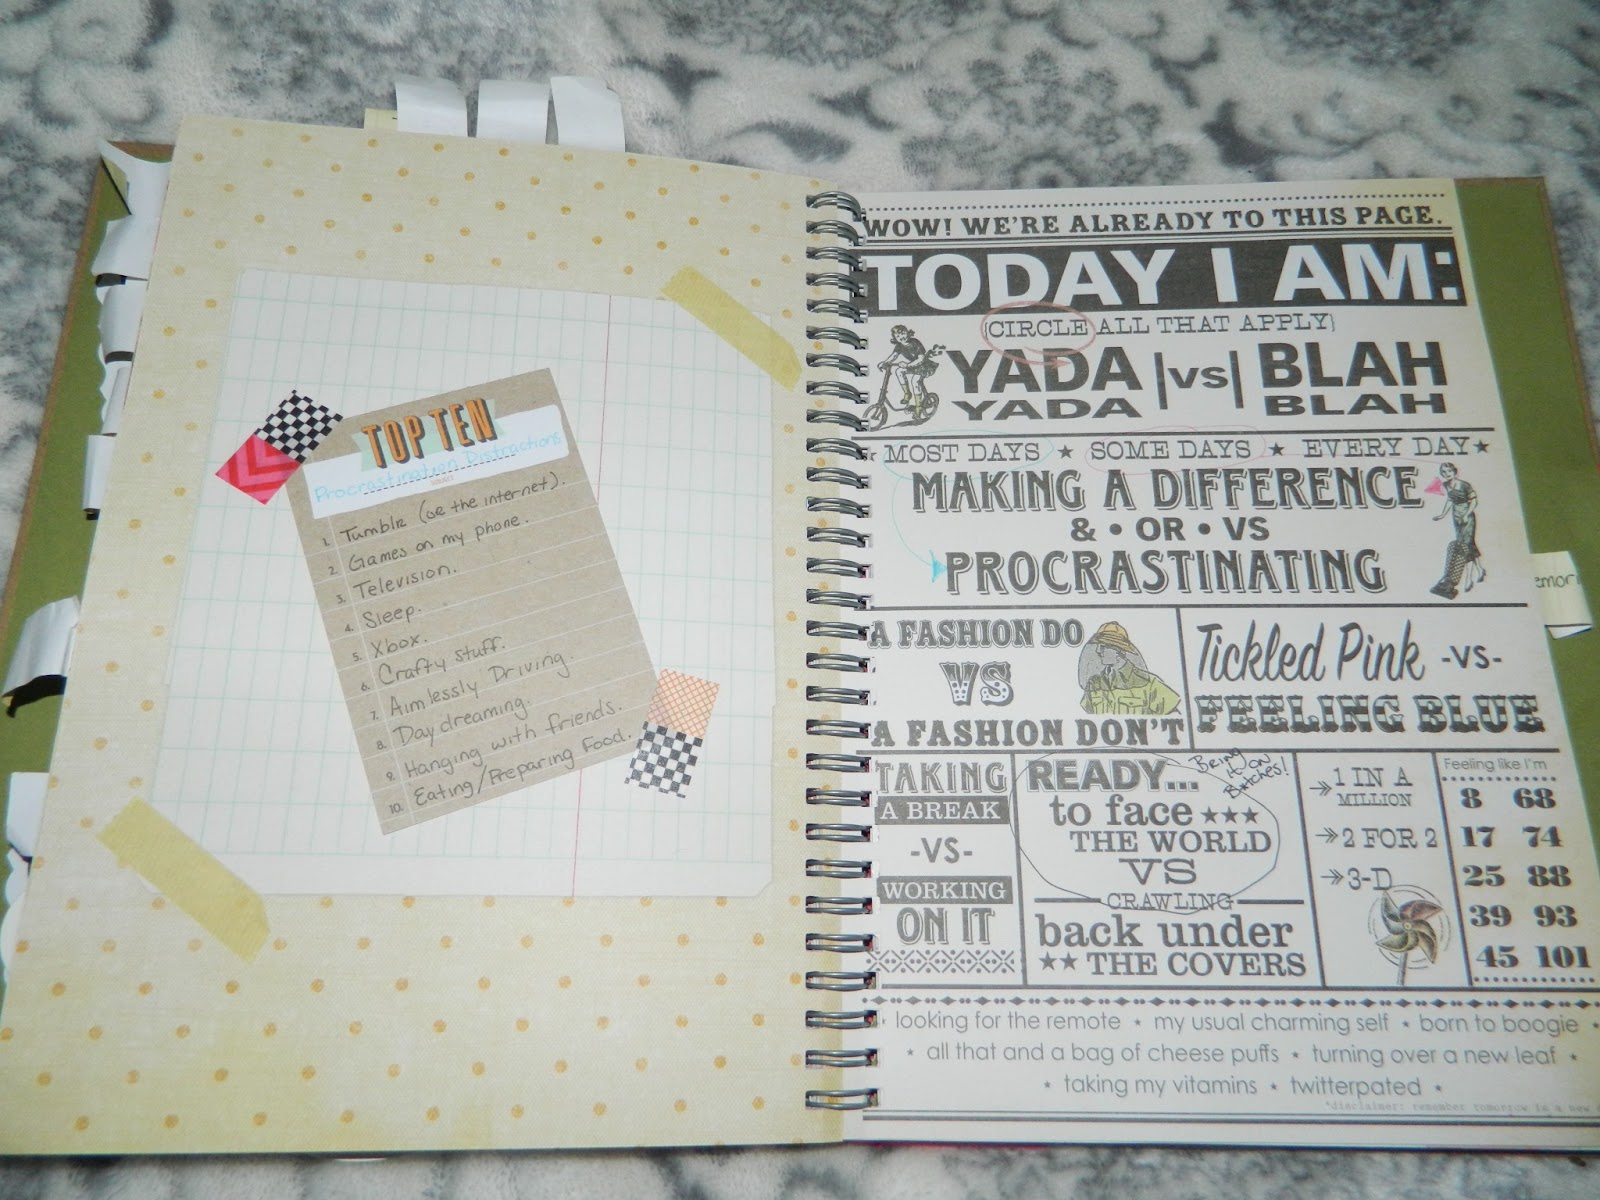
Procrastination station! 
Still needs some work, but I've been procrastinating! Hehe...


Most days procrastination, some days making a difference.

***  
Finished. "Precious Treasures"

Another "peekaboo" door.

*** 
The blue page. It looks much nicer in person, less gray...

*** 
Another finished page. Well mostly. 
It's just missing a photo I need to print out.

*** 
The inside back cover.

So anyway, I hope this helps to inspire you or something. Give you ideas for your scrapbooks or the want to go out and buy a Smashbook too! ;D

Monday, February 25, 2013

CRAFT: Chinese Dragon Puppet

Welcome kids to "Make it Monday" where today we are learning how to make a Chinese dragon puppet.


My mom's church celebrated Mardi Gras with a talent show. I help teach dance to two different age groups within the church and the older team performed a comedy dance to "I'll Make a Man Out of You" from Disney's Mulan. 
The girls dressed up super girly; parasols, gloves, skirts, shawls, and then magically transformed (switched places) with a bunch of guys at the end of the song.

The lovelies.

The guys and girls at the final bow. And me *facepalm*?

We needed a Mushu character/prop for one line of the dance, so I ended up making a dragon puppet. I spent about two days working on him and am very pleased with the end result, even if he only had ten seconds of glory on stage.

Here's what you need:
  • A dragon face template (the one I used isn't actually Mushu's face).
  • An empty soda can carton
  • A plastic table cloth
  • Tissue paper
  • Mod podge/glue
  • Markers
  • Scissors
  • Ribbons/glitter/sequins to decorate
Begin by coloring in your dragon face. You could also draw a design if preferred. I just happened to find this picture sitting around in our library of craft stuff.


If I had a computer template for this I would share.

Cut out the face.  You may want to glue it to a piece of cardboard to help keep it sturdy, but I wasn't thinking and his horns and whiskers got a bit bend in the end.

All colored.

Take your table cloth and measure around the soda carton. This will become his body, so choose how long you'd prefer it to be. I left it the length of the box, but draped it down longer on the sides. Place the table cloth off to the side.


Measuring.

Take your box and cut off the end. This will be the dragon's head. His face will get glued to the closed end, so measure how long you want the side of his head to be. Mine was about 6 inches long.

Cut out three 3x3 squares (or more if your dragon's body is longer). These will become the "spine" of the dragon, giving the tablecloth support while still allowing space to move and flow.

Head and body brought to you by Coca Cola. ;)

Lay out the cardboard onto the cloth and glue the three panels into place. Make sure you space them a few inches apart. Don't glue on the head yet.

Spacing.

Now for the superfunexcitingtimeconsumingrepetitive part. Ask a friend to help cut out tissue paper fringes. I forgot to count exactly how many sheets of paper we ended up using, but it didn't seem to be many. Cut each section to be about 5 or 6 inches long, four inches tall and each fringe about half and inch wide. Cut from the bottom, up until about a half inch from the top (you don't want to cut the fringes off!)
**Make sure each section of fringe is the same size. I ran into trouble with pieces that were longer than others.

Fringy stuff.

Glue the dragon's face to the front of the box. Glue on the fringe overlapping to create a textured look. I started by gluing the sides bottom to top and then glued the top of his head. Any excess on the top of the head was rounded over the sides and glued down.


A wrinkly mess is what I get for using leftover paper.

Begin gluing the fringes to the table cloth. Start at the bottom and work your way up. Leave about half an inch showing underneath each new fringe. This takes time. And patience. So turn on the TV or something to keep you entertained.


I glued the sides of the body first, pointing the fringes downward. After I let it dry, I propped it up onto another soda carton and glued on the back fringes pointing to the tail.

Using different colored paper helps to distinguish 
top from bottom as well as adds an illusion of scales.

This was probably my hardest part; figuring out how to attach the head. I ended up cutting an extra piece of cardboard (2x4in) and gluing one end inside his head and the other onto the bottom of the tablecloth.

If you can figure out something better, let me know.

Flip your dragon onto his belly, decorate with ribbons, etc. and you are done! Well, sort of... see, mine is still not perfected. There is no great way to hold it except gripping the inside of the head and another hand underneath his body, but even then it's not good support. I thought about adding a handle or even a glove to put your hand inside. He needs something in his belly to help make him sturdy so he can be more mobile. I don't know yet. Maybe some day I'll come back with a fix, but probably not.

Finished Mushu/dragon puppet.